


Tile flooring is a beautiful and durable option for any home, offering a range of styles from sleek ceramic tile to rustic natural stone. Whether you’re renovating your kitchen, bathroom, or entryway, installing tile floors can be a rewarding project that transforms your space. At Flooring Direct of KC, we understand that a successful tile installation requires careful planning and precise execution. This guide will walk you through the key steps to ensure your tile flooring project is a success.
1. Preparing the Area
Before you begin laying tile, it’s crucial to prepare the installation area properly. Start by removing any existing flooring materials and thoroughly cleaning the subfloor. A clean, level surface is essential for a successful tile installation. If necessary, make any repairs to the subfloor to ensure it is smooth and stable. Once the subfloor is ready, use a chalk line to mark the center points of the room. This will serve as a reference for laying the first tiles and ensuring a symmetrical layout.
2. Planning the Layout
The layout of your tile floor can significantly impact the final appearance of the room. Begin by dry-laying the tiles, starting from the center of the room and working outward toward the walls. This will help you determine the best placement for the tiles and identify any adjustments that may be needed. When planning your layout, be mindful of the manufacturer’s recommendations regarding tile spacing and grout lines. Use tile spacers to ensure consistent grout lines throughout the installation.
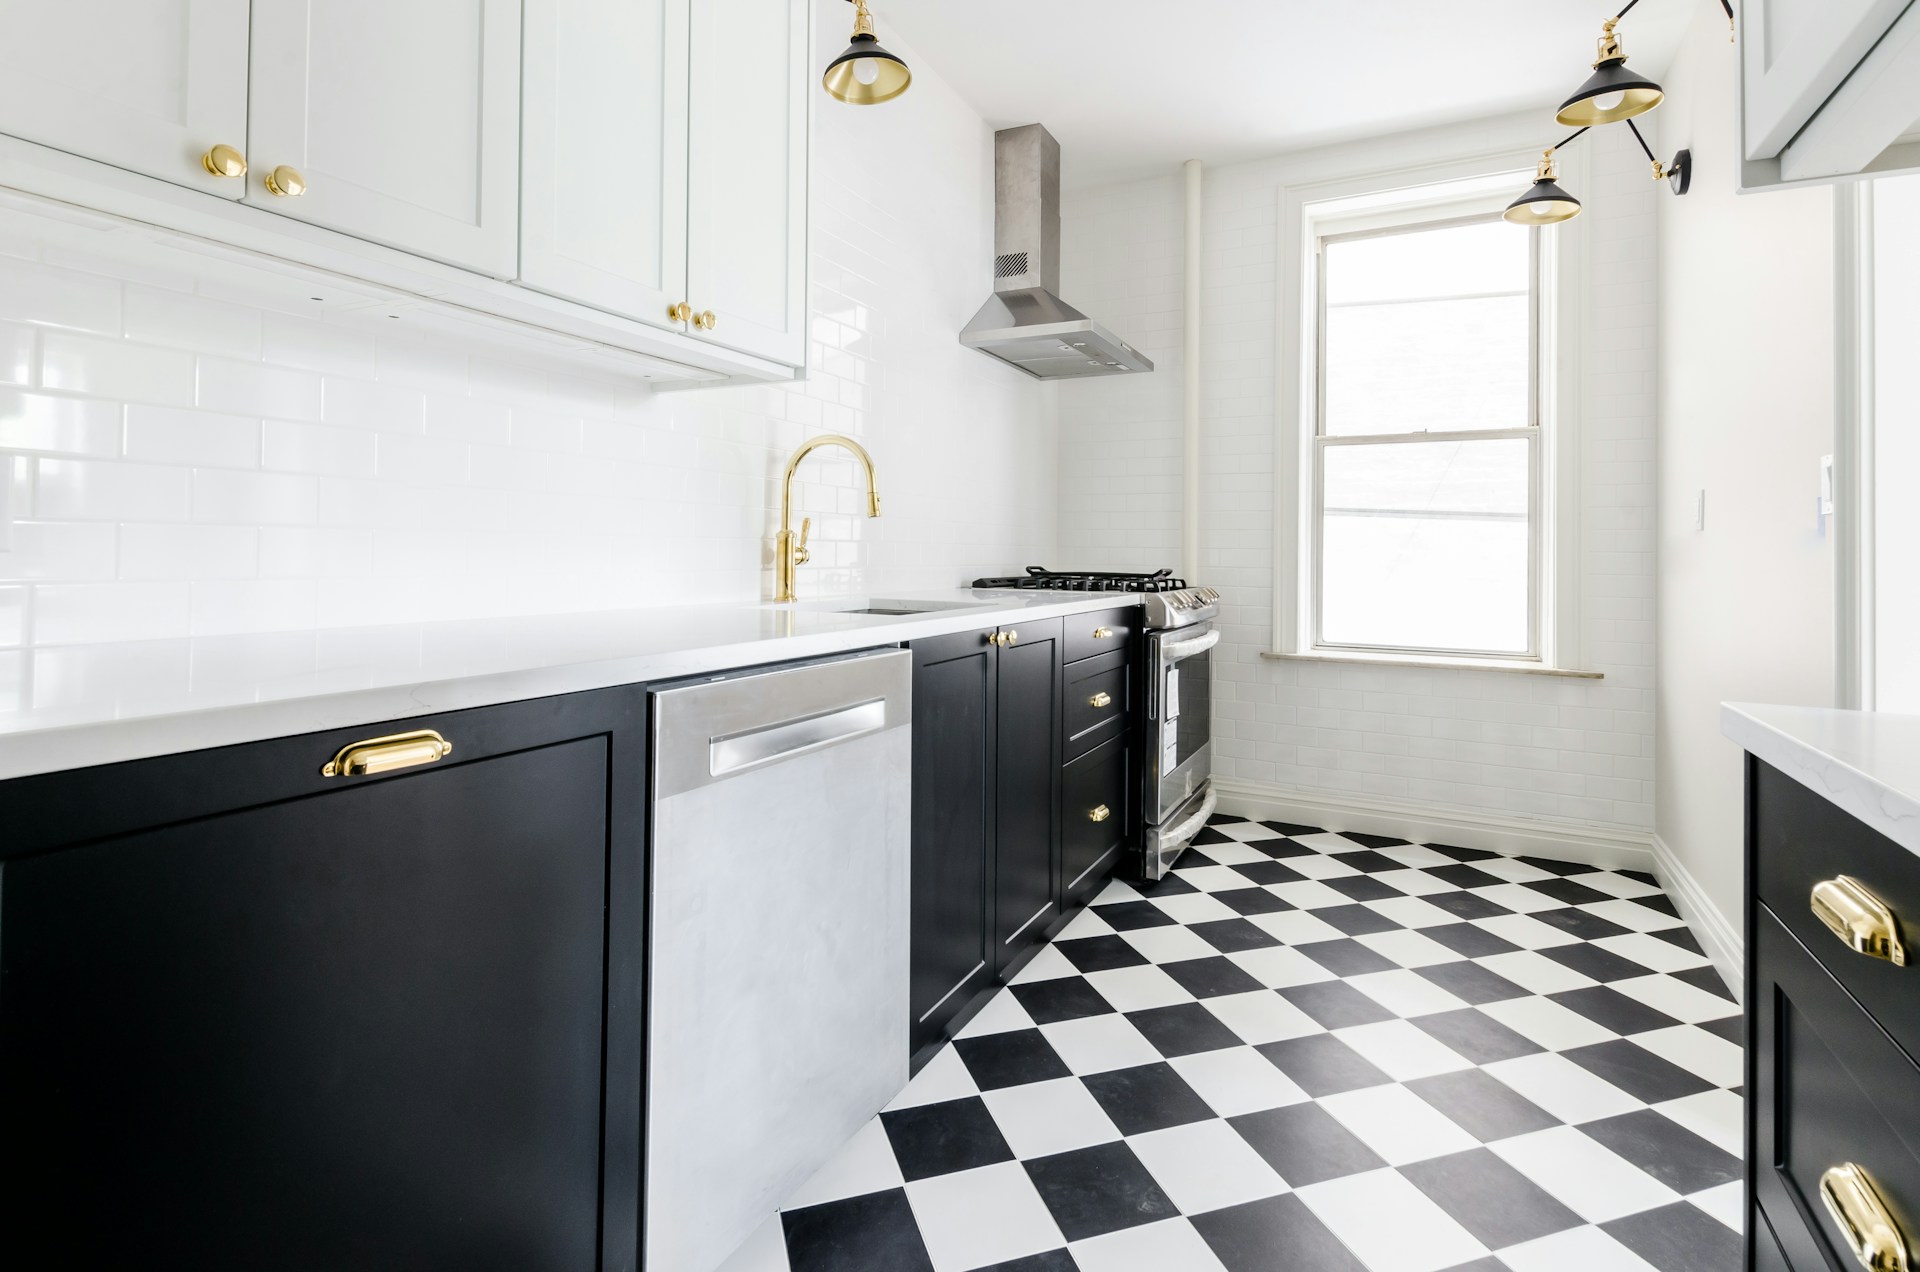
For a more dynamic and visually appealing layout, consider laying the tiles at a 45-degree angle. This diagonal pattern can make the room appear larger and add an extra layer of sophistication to your design.
3. Installing the Tile
Once you have planned the layout, it’s time to start installing the tile. Begin by applying a layer of thin-set mortar to a small section of the floor using the side of the trowel. Hold the trowel at a 45-degree angle to ensure an even application. Press the first tile into the mortar, starting from the center of the room and following the chalk lines you previously marked. Use a rubber mallet to gently tap the tile into place, ensuring it is fully embedded in the mortar.
Continue laying the tile, working in small sections and using tile spacers to maintain consistent grout lines. As you lay the tile, periodically check that the tiles are level and aligned with the chalk lines. Adjust as needed to ensure a straight and even installation.
For natural stone tiles, take extra care when installing to avoid damaging the tile surface. Natural stone can be more delicate than ceramic tile, so it’s important to handle the tiles gently and avoid using excessive force.
4. Applying the Grout
After all the tiles are installed, allow the mortar to set for at least 24 hours before proceeding to the grouting stage. Once the mortar has fully cured, remove the tile spacers and prepare the grout according to the manufacturer’s recommendations.
Apply the grout to the tile surface using a rubber float, working it into the grout lines at a 45-degree angle. Be sure to fill all the gaps between the tiles thoroughly. After applying the grout, use the side of the trowel to remove any excess grout from the tile surface. It’s important to work in small sections and clean the tile surface frequently to prevent the grout from drying on the tiles.
5. Cleaning the Tile
Once the grout has been applied and allowed to set for a short period (typically 10-20 minutes), it’s time to clean the tile surface. Use a damp sponge and clean water to wipe away any grout residue, being careful not to disturb the grout lines. Rinse the sponge frequently in clean water to avoid spreading grout residue across the tiles.
After the grout has dried completely (usually within 24 hours), you may notice a slight haze on the tile surface. This grout haze can be easily removed using a grout haze remover, which is available at most tile flooring stores. Follow the product instructions carefully to ensure a clean and polished finish.
6. Final Touches
With the tile installation complete, the final step is to inspect the floor for any imperfections. Check that all the tiles are securely in place and that the grout lines are even and consistent. If you find any areas where the grout has shrunk or cracked, apply additional grout as needed to fill the gaps.
After everything is checked and adjusted, allow the floor to fully cure before moving furniture or heavy objects onto it. This curing period typically takes 48 to 72 hours, depending on the type of tile and mortar used.
Installing tile floors can be a complex process, but with careful planning and attention to detail, you can achieve professional-quality results. At Flooring Direct of KC, we are here to support you every step of the way, from selecting the perfect tile at our tile flooring store to offering expert advice on installation techniques. Whether you’re working with ceramic tile, natural stone, or any other material, following this guide will help ensure your tile floor installation is both beautiful and long-lasting.